You’re racing through the morning routine when the sink throws you a curveball. Instead of a smooth stream of water, the faucet sprays sideways thanks to limescale blocking the spout.
Add streaks, spots and a chalky ring around the base, and suddenly, your whole bathroom feels grubby.
Luckily, there’s a simple fix. With just a couple of household staples and a few minutes of effort, you can bring the shine back in no time!
Identify the Type of Faucet
Before you start scrubbing, it helps to know what kind of faucet you’ve got, because each type needs a slightly different approach.
- Compression taps. These have separate hot and cold knobs. Unscrew each handle carefully to get to the bits that need cleaning.
- Cartridge taps. They have one or two levers. Lift them gently to access the inner parts without forcing anything.
- Ball taps. Recognisable by a rounded cap on top, these taps have fiddly insides, so take your time and handle with care.
- Disc taps. These are modern and flat with multiple internal pieces, so move slowly and methodically when cleaning.
With that done, it’s easy to move on and start cleaning each part without any guesswork.
Gather Your Supplies
Cleaning goes a lot smoother when everything you need is within reach. Start by gathering everything you’ll need before you start. Most of it is probably already in your kitchen, and a few extras can help depending on your faucet type:
- White vinegar. This is excellent for dissolving mineral buildup and calcium deposits.
- Baking soda. Mix it with water to create a gentle abrasive paste that removes stains safely.
- Microfibre cloths. They are perfect for wiping surfaces and making them streak-free without scratching their finish.
- An old toothbrush. It works well for reaching tight corners and crevices.
- A plastic bag. You can use it to soak parts that can’t be removed.
Keep in mind that some faucets need a little extra elbow grease. Compression taps, for example, can be easier to clean if you use a small adjustable wrench or pliers wrapped in a cloth to remove the knobs safely.
On the other hand, if you have cartridge taps, you can use a cartridge puller to lift the lever, though most can be handled by hand.
Ball taps have tiny grooves that a toothpick or small pick can clear. Meanwhile, disc taps, with their ceramic discs and narrow gaps, are easier to tackle with cotton swabs or a soft-bristled brush.
Prepare the Faucet
Start by turning off the water at the valves under the sink and placing a towel in the basin to catch drips.
When removing the handles, take your time. For compression taps, you need to unscrew their knobs. On the other hand, cartridge taps allow you to lift out the lever, and ball taps have rounded caps that require a careful touch.
Disc taps are a bit more intricate, though, so move slowly when accessing the internal pieces. Keep all small parts in a container so nothing gets lost, and if the aerator comes off, set it aside to soak or scrub it later.
Soak and Descale the Parts
Some mineral buildup is stubborn and needs a little extra attention. For removable parts like aerators, mix equal parts water and vinegar in a bowl and let them soak for about thirty minutes.
If the faucet head won’t come off, don’t worry. Fill a plastic bag with vinegar, slip it over the spout, and secure it with a rubber band or twist tie. This will let the solution work its way into all the tricky little nooks without you having to dismantle anything.
For really stubborn spots, you can repeat this step until everything loosens up. Overall, vinegar cuts through calcium buildup without harming the metal, making it a cheap, sustainable alternative that often beats store-bought cleaners.
Scrub and Clean
After soaking the parts, it’s time to bring back the faucet’s shine. Grab an old toothbrush for tricky corners and tight edges. The bristles are firm enough to remove grime but gentle enough to prevent scratching the finish.
Focus on the base, the areas around the handles, and any spots where buildup tends to collect. Don’t press too hard, though. A light touch will protect the finish and still get the dirt out.
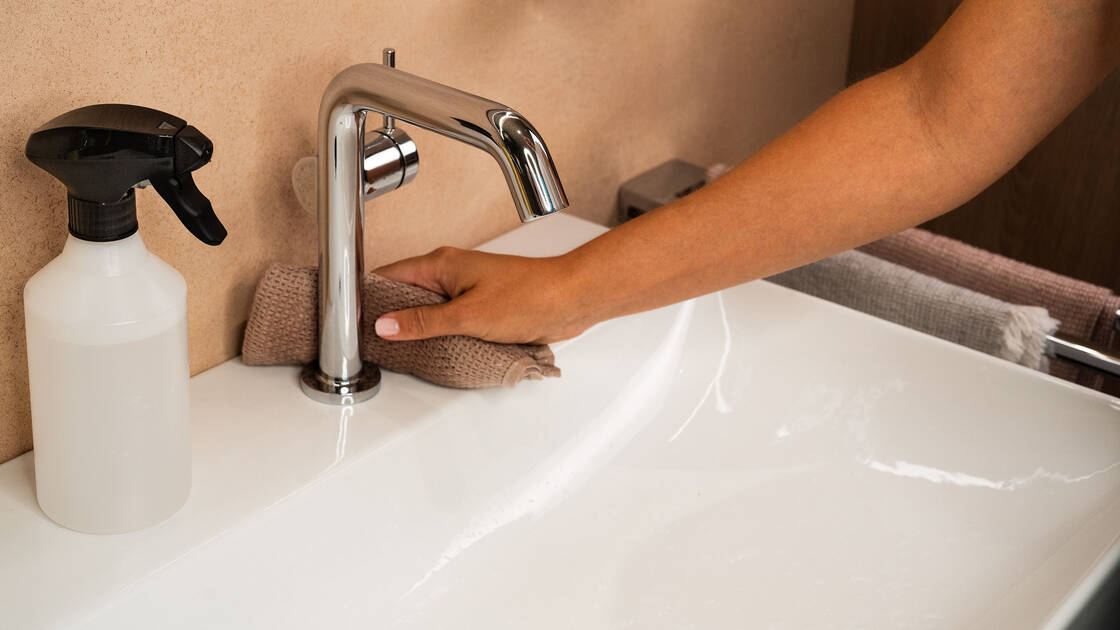
Once the stubborn bits are gone, wipe everything down with a soft cloth to remove residue and leave the surface gleaming.
For really tough spots, mix a little baking soda with water to make a thick paste. Apply it to problem areas and scrub in small circles with your toothbrush, then rinse them thoroughly.
However, if the idea of scrubbing every nook and cranny feels like too much, a professional deep cleaning service can handle the tricky bits for you. This will make it easy to get sparkling faucets without lifting a finger.
Reassemble and Test the Taps
Once everything is clean and dry, start with the aerator. Screw it on firmly, but take care not to overtighten it, or you could strip the threads.
When it’s time to put the handles back, start with taps that have separate hot and cold knobs and line them up carefully.
For single-lever designs, reposition the lever carefully and secure it according to the manufacturer’s instructions.
Ball-style taps, which have a rounded cap and internal mechanism, should be handled gently to avoid damaging seals. Disc taps contain ceramic components, so move slowly to align the parts correctly before tightening anything.
Just make sure everything turns smoothly and feels secure, as forcing anything can cause damage.
Now, turn the water valves back on slowly, keeping an eye on the base and handles. A tiny drip can usually be fixed with a little extra tightening, but persistent leaks may mean a worn washer or seal needs replacing.
It’s worth giving your faucet a quick check every so often. Catching small issues early will save you unnecessary hassle and keep your taps working properly for longer.
Conclusion
You deserve faucets that gleam, not ones that look like they’ve survived a dust storm. So, why put up with chalky buildup and stubborn spots when some vinegar and baking soda can bring them back to life?
With these simple hacks, you can say goodbye to sticky residue and hello to taps that sparkle like they belong in a magazine. Give them a try today, and you’ll notice the difference every time you turn on the water.