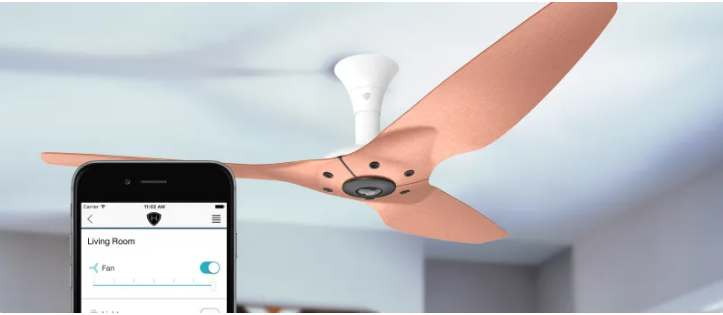
Ceiling fans are a great addition to any home. Not only do they help keep your space cool during the summer, but they can also circulate warm air in the winter, making your home more energy-efficient year-round. Installing a ceiling fan may sound intimidating, but it’s a manageable DIY project if you have the right tools and instructions. In this guide on how to install a ceiling fan, we’ll walk you through the entire installation process, step by step, so you can enjoy a cool breeze without the stress.
Why Ceiling Fans Are a Must-Have for Your Home
Ceiling fans are not just a summer luxury—they offer several benefits year-round:
- Energy Efficiency: Ceiling fans use significantly less energy than air conditioning, helping lower your electricity bill.
- Comfort: They provide a cool breeze in the summer and help circulate warm air in the winter, ensuring year-round comfort.
- Environmental Impact: By reducing the need for air conditioning, ceiling fans contribute to reducing your carbon footprint.
Tools You’ll Need for Installing a Ceiling Fan
Before you begin, gather the necessary tools to ensure a smooth installation:
- Screwdrivers (flathead and Phillips)
- Pliers
- Ladder
- Electrical tape
- Wire stripper
- Drill
- Ceiling fan mounting kit (usually included with the fan)
Having the right tools will make your job easier and safer.
Step-by-Step Guide on How to Install a Ceiling Fan
Step 1 – Prepare Your Space
Start by ensuring the power is off. Turn off the circuit breaker that powers the ceiling lights. Clear the area around the ceiling fan location to create a safe workspace. If needed, use a stud finder to locate a secure ceiling joist to attach the mounting bracket.
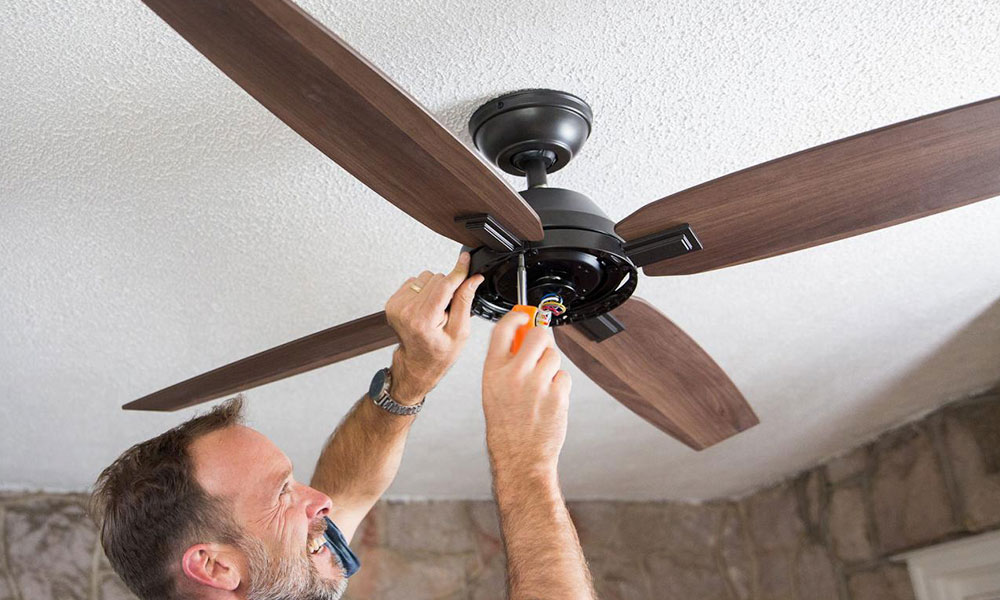
Step 2 – Assemble the Fan
Follow the manufacturer’s instructions to assemble the ceiling fan. This typically involves attaching the fan blades to the motor unit. Be sure to secure everything tightly to prevent wobbling later.
Step 3 – Install the Mounting Bracket
Next, attach the mounting bracket to the ceiling, making sure it’s securely fastened to a ceiling joist. Use the screws provided in your fan’s installation kit to secure it tightly.
Step 4 – Attach the Fan Blades
Carefully attach the fan blades to the motor. Make sure each blade is securely fastened to avoid any imbalance during operation. Most fans come with screws and brackets to hold the blades in place.
Connect the Wiring
Now it’s time to connect the wiring. Typically, you’ll need to connect three wires: the black (or red) wire for the fan, the white wire for neutral, and the green wire for ground. If you’re unsure about which wire goes where, refer to the manufacturer’s instructions for proper wiring.
Step 6 – Test Your Ceiling Fan
Once the wiring is connected, secure the fan to the mounting bracket and tighten all screws. Turn the power back on at the circuit breaker, then test the fan to ensure it’s working properly. If everything is running smoothly, you’re done!
Troubleshooting Common Ceiling Fan Installation Issues
Sometimes, issues can arise during installation. Here are a few common problems:
- Fan Wobbling: If your fan wobbles, check that the blades are securely attached and evenly spaced. You may also need to balance the fan blades using a balancing kit.
- Not Turning On: Double-check your wiring connections and ensure that the circuit breaker is on.
- Noise: If your fan is noisy, check that all screws are tightened properly and that the motor is secure.
Safety Tips for Installing Ceiling Fans
Installation involves working with electricity, so it’s important to follow safety precautions:
- Always turn off the power at the circuit breaker before starting.
- Use a sturdy ladder to reach the ceiling and make sure it’s on level ground.
- Wear gloves to protect your hands from sharp edges on the fan or the mounting bracket.
When to Call a Professional for Ceiling Fan Installation
While installing a ceiling fan is manageable for most DIY enthusiasts, there are certain situations where you might want to call in a professional:
- If your ceiling height is too high or awkward to reach safely.
- If you’re unsure about the wiring or have a complex electrical system.
- If the fan needs to be installed in a location without an existing fixture.
Conclusion
Installing a ceiling fan is a rewarding DIY project that can improve the comfort and energy efficiency of your home. With the proper tools, a little patience, and following this step-by-step guide, you’ll be able to enjoy a cool breeze in no time. If you’re looking for more detailed instructions, check out our full guide on how to install a ceiling fan.